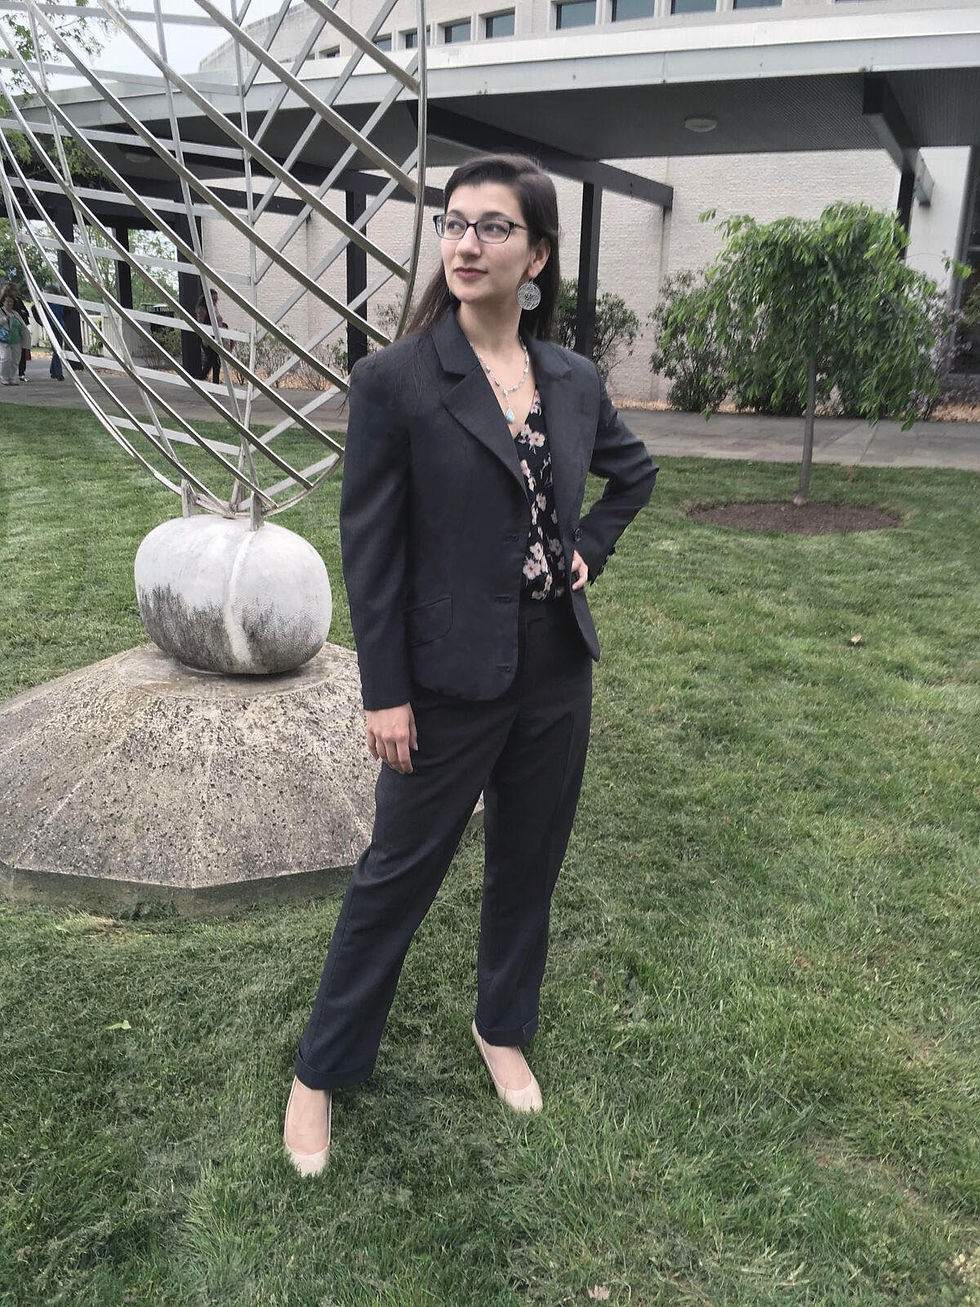
Hand Tailored Suit Photo Journal
- Lauren Brennan
- Mar 5, 2018
- 3 min read
This tailored 2-piece suit was created as a part of my graduate coursework in the Spring 2017 semester. I took a tailoring class with Professor Tiffany Delligatti at West Virginia University, where we went through the process of hand tailoring suits for ourselves. Although some adjustments had to be made to accommodate variations in body and style, we closely followed the process laid out in the book Classic Tailoring Techniques for Menswear by Roberto Cabreza and Denis Antoine. The process is laid out below in images (with descriptive captions) from mock-up to final product. For an abbreviated gallery view of the process, please click here, or on the below image to be redirected to my portfolio page.

Layout/cutting out the jacket mock-up


Neatly folded under edges of mock-up at center front hem and lapel/collar.

Working on fitting the mock-up.


Mock-up front and back view after fitting

Resetting the grain of the fashion fabric (wool) with steam/rolling the fabric onto a tube.

Suit jacket pattern pieces laid out and traced onto fashion fabric.


Thread marking notches, dots, and stitching lines galore!


Working on front pockets. (Double piped with flap) Working on front pockets. (Double piped with flap) [continued]

Final pocket sits on a slant.


Putting together the interior of the front and side front pieces. (Includes: canvas, hair cloth, French canvas, and wool flannel)


Pad stitching in the chest area.

Attaching the fashion fabric to the canvas, etc. understructure with basting.

Beginning to pad stitch on the lapels.


Pad stitching on lapels


Taping on lapel/center front edge and on roll line


Front and back view of first fitting in fashion fabric.

Attaching the facing by machine: Rolling and tacking seam allowance of fashion fabric and facing onto the taping to create a crisp edge.

Facing attached and basted in place to maintain that crisp edge and proper rolled-up shape.

Attaching the lining to the facing

Attaching fashion fabric side and side back seams, lining basted in place on all panels.


Assembling the shoulder seam (Reinforcing the seam with lining, pad stitching the shoulder pad to the canvas, and a view from the exterior of the coat.

Prepping the hem to be turned up and stitched using a shirring stitch to get curved areas to lay smooth.


Lining fully together front and back view.


Pad stitching the collar in a semicircle and trimming down the seam allowance to nothing.

Pressing the under collar into the proper shape

Under collar basted in place.


Setting up the under collar to be stitched to the upper collar.

Attaching the upper collar.

Setting up the upper collar to slip stitch.

Gearing up to set in the sleeve

Mock-up sleeve set into the coat with a basting stitch.

Prepping the sleeves for vents

Working on sleeve hems/vents

Vent interior

Attaching the lining to the vent

Finishing the sleeve lining to create a working vent.

A very tired Lauren who just basted her sleeves in and is really happy about it!

The beginnings of a hand bound buttonhole using regular machine sewing thread to prevent cut edges from fraying

Finished hand bound buttonhole

Completed jacket before removing basting/before final pressing

Completed jacket before removing basting/before final pressing


Front and back view of pants mock-up

Crotch reinforcement placement

Attaching facings to front pocket pieces

Attaching the front pocket pieces.

Front pockets interior view


Creating back pockets


French seaming the back pocket

Final pocket, basted closed to retain shape.


Final Product; front, back, and jacket interior view


Comments